Making a U-Gusset for a Leather Bag
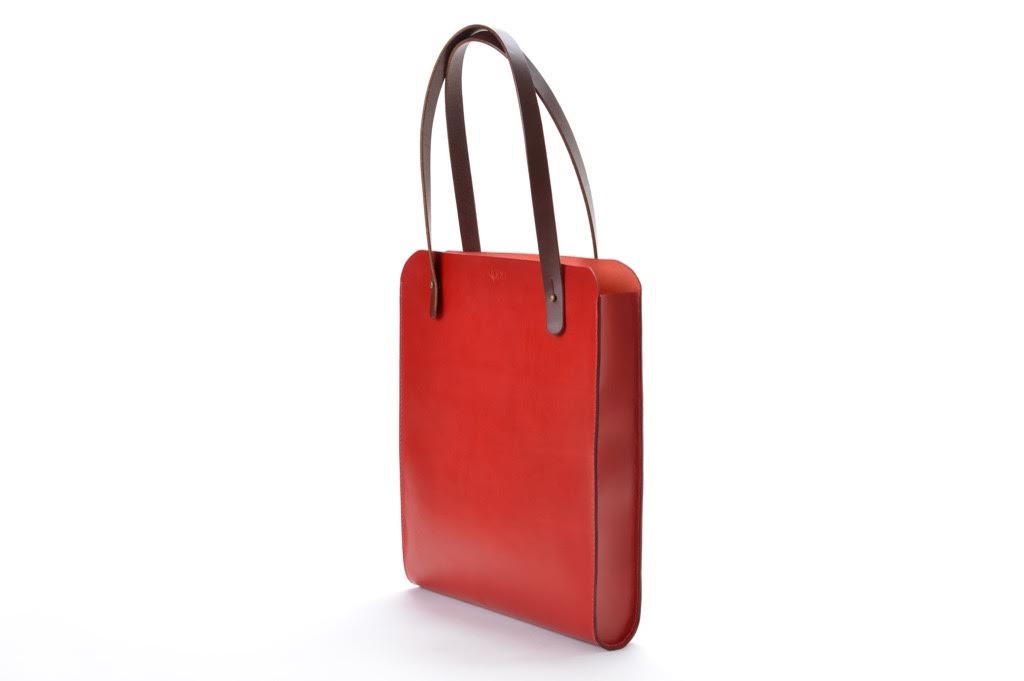
The side panel or U Gusset
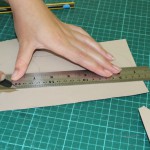
Making a U-Gusset
‘U’ shaped gussets can be of any width, the most important issue being the shaping of the ‘U’ section at the base of the gusset. To do this, decide on the required finished width of the gusset and add 12mm (6mm for a seam allowance on each side). Take this total and divide it by two to establish the measurement by which to set your compass for example; a finished gusset width of 48mm should have 12mm added (see above) = 60mm, which if divided by two will give a total of 30mm – this is the setting for your compass.

a) Draw two circles
Decide on the *height of the finished gusset and add 6mm for the seam along the ‘U’ at the base.
b) Join the circles at the outside edges
Having set your compass, on a piece of card draw one circle, then at a little longer than the gusset height as determined above, draw a second circle. Now, using a ruler and pencil, join the outside edge of circle number 1 with the outside edge of circle number 2. Repeat for the other side so you will have drawn a rectangle with a circle at either end. One of these circles will be the ‘U’ for the base of the gusset and the second circle can be ignored as you will cut a straight edge for the gusset top.
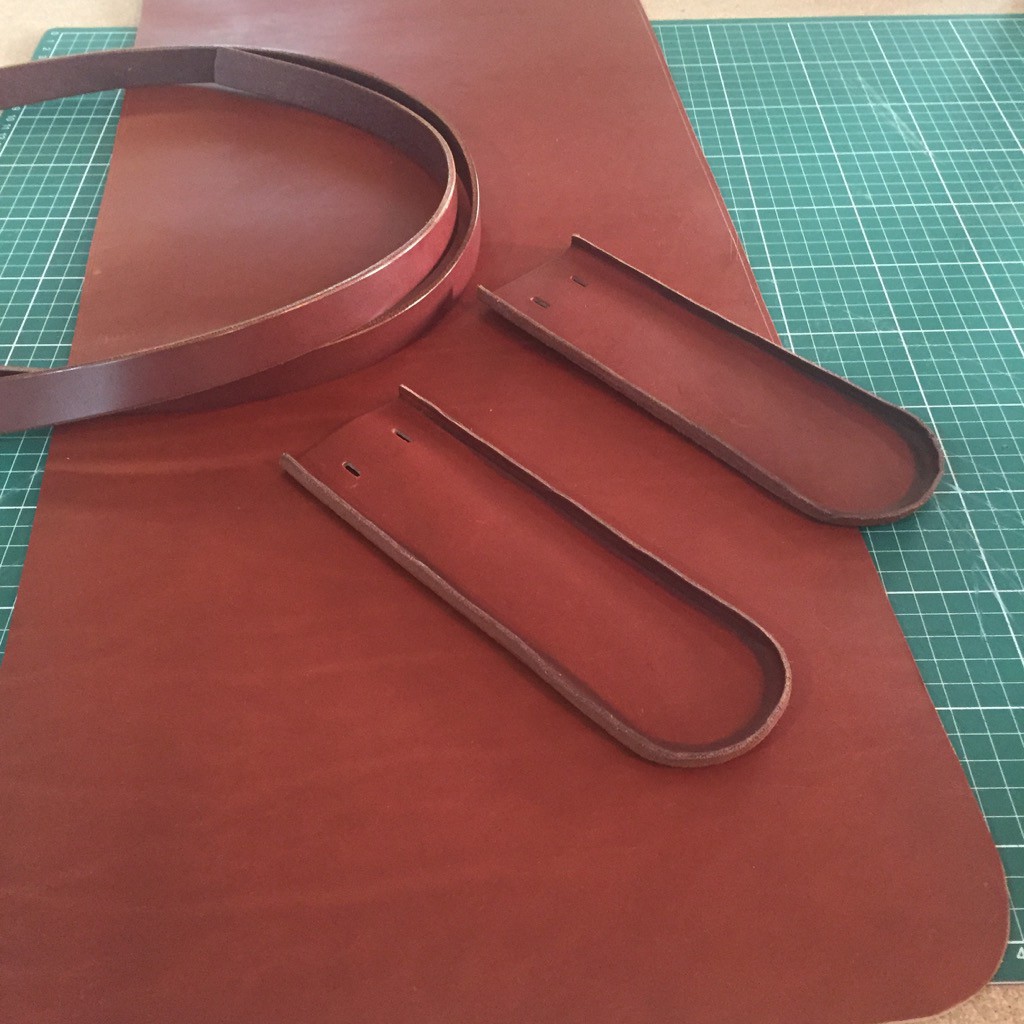
Neatly turned edges on the U gussets
In preparation for fitting the ‘U’ gusset, cut the rectangle out carefully, ensuring that you keep the ‘U’ shape – using a sharp, curved blade will help. This is your ‘U’ Gusset pattern and you will of course need to cut two of these from leather, for your bag. Using the dividers, on the grain side of the leather gussets, mark a 3mm stitch line along both long edges and around the ‘U’. Repeat on the flesh sides but with your dividers set to 6mm – this will be your glue line.
You will need to score and dampen the leather along the 6mm glue line on the flesh sides in order to ‘turn’ up the edges using the bone folder and a ruler. If you don’t have a jig of some sort to turn the ‘U’, ease this section into a ‘turn’ by using your fingers – take care not to crease the leather on the grain side of the ‘U’
*Note: It is advisable to cut your gusset length oversized initially and set it in place on the bag using clips only. The gusset length can then be trimmed along the top straight edge if necessary, after which you can glue and stitch it in place.
TIP: The width of the gusset determines the bag’s ‘depth’.
For help with fitting a U-Gusset, with step-by-step colour photos, see: