Butt and Box Stitch – Part 5. Practising Box Stitch
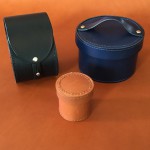
Cylindrical keepsake pots which have been both butt and box stitched
This post follows on from the previous blog post ‘Butt and Box Stitch – Part 4. Preparing for Box Stitch’, and assumes that you have prepared your leather, ready to start practising Box Stitch.
Firstly, prepare a thread which is at least five times the length of the area to be stitched, with an additional 8 or 9 cm.
Having levelled off the thread, work back one stitch
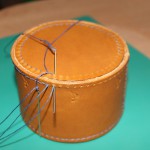
With your newly stitched leather tube neatly encasing the cylindrical core, drop the pre-pierced circular leather base into it’s position, grain side facing upwards.
Align the first stitch on both pieces and insert the first needle into the first stitch on the base, angling it to feed through to the pre-pieced stitch on the corresponding tube.
Level off the thread and work back one stitch by again feeding the first needle through the base and down through the corresponding hole in the tube, then feed the second needle up from the opposite direction; so, start where the first needle exited and feed up into the base.
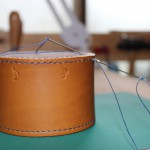
The second needle enters the hole which the first needle just exited – as for saddle stitch
Work back through the first hole so that you have a double stitch.
The harness awl can be used to pierce the stitches again if you are having trouble getting a smooth flow with the needles; Use it to pierce through the corresponding holes, before following with the needle. Safety Tip: This is a little trickier than piercing when using a clam, or on the cork block, so take care!
Stitch along/around the tube sometimes re-using the same hole, when the stitches on the tube and base become misaligned. If you have used the same size pricking iron or wheel for both the tube and the base, then you will need to do this much more often than if you had used a smaller pricking iron or wheel on the base.
Box stitch is used for stitching together two pieces of leather placed at right angles, so can also be used for non cylindrical items, such as square and rectangular boxes.
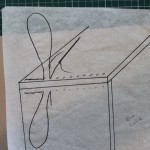
Box stitching a square or rectangular item
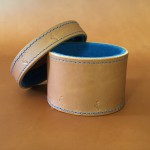
A lined, cylindrical leather keepsake pot
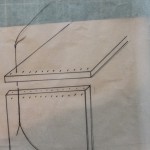
A cross section of Box Stitch
As your skills improve, you can begin experimenting with linings.
Always use a sharp harness awl!
Here’s the link to the previous blog post: Butt and Box Stitch – Part 4. Preparing For box Stitch