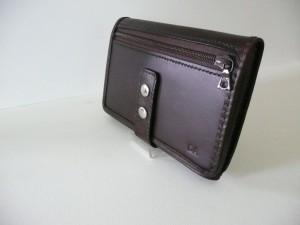
Image – Bound edge seam on a leather purse
A
bound edge seam is initially created in the same way as the
cut edge seam but after the two pieces of leather have been glued together, a separate, thin strip of leather the same length as the seam – see image and paragraph below – is folded over the edge of the seam before stitching.
To prepare the seam for the binding, mark a 6mm line along the back and front of the seam; this is where the binding edges will sit and this pre drawn line will ensure that your binding sits at exactly 6mm from the top of the seam, on both the back and front of your work. TIP: Using a small piece of sandpaper, carefully sand within the 6mm lines to ensure a good grip for the binding strip.
To establish the required length of the binding strip, carefully run a fabric tape measure along the area you wish to bind and add a little extra, just to err on the side of caution – you can trim off any excess later. There is no reason why you can’t make your binding strip in two sections should you find that you don’t have enough length for the area to be covered; take care to pare down the two overlapping edges (approx’ 6mm on each) and position the join centrally, not forgetting to dye and burnish the visible short edge. The width of the strip is determined by measuring the thickness of the leather to be bound, plus an additional 12mm.
The binding (strip) itself will usually need to be pared down and have its edges dyed and burnished before using the pricking iron along one long edge and drawing a 3mm divider line along the other.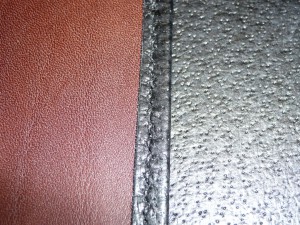
The binding should then be glued on the flesh side before placing the long edges neatly along the pre drawn divider lines at the front and the back of the work. When the glue is dry the binding strip can be stitched in place. (Image shows a strip of binding wrapped over the top edge of a pocket.
The bound edge seam is ideal for organisers, large or pocket edges and fabric lined bags. An advantage of this seam is that the binding strip can be run through the paring machine, eliminating the need for using the paring knife.
TIP: Make a sample of the seam beforehand, to determine the required width of your binding strip.
Next time, you could try making a piped seam