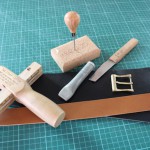
Leatherwork Project 6 Steps To Success
Leatherwork Project
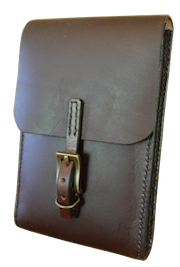
Step 1 – Design: *Sketch the design of your leatherwork project on to paper, drawing it from all angles including front, side, back, base and top views. Include details of all measurements. Repeat for the interior if the project is to be lined or have pockets.
Taking Pictures of your finished leatherwork projects
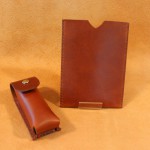 When you have finished your leatherwork project, the next step is to take pictures of it either as a record of your work, or maybe even to sell.
We don’t claim to be experts at this but we do know that taking photos of your work takes time and a little effort. If the image isn’t clear and it doesn’t show the product off to it’s best advantage, it’s unlikely that anyone will buy it! As someone once said about poor product images… “it’ll be like trying to sell a bowl of melted ice-cream!” …
Stitching Clam-Preparing for Leatherwork
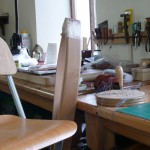
Wooden Stitching Clam
When you purchase your first wooden stitching clam for holding your leatherwork while you work, there a few things you can do to make it worthy of holding your belts, bags and other projects.
Padding out the jaws: The first thing you’ll notice when you’ve unpacked it is that unlike the stitching clam you used while on a course, your new one won’t have any protection around the wooden jaws to prevent the leather from getting marked as the jaws grip your work, while you stitch…
Basic Leatherwork Kit
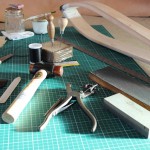
New to leatherwork and wondering which tools are essential for your new hobby? Then read on…

